Typewriter Keyboard
514 words | ~ 3 min read | Jun 12, 2020 | last modified Jun 12, 2020 | projects keyboards
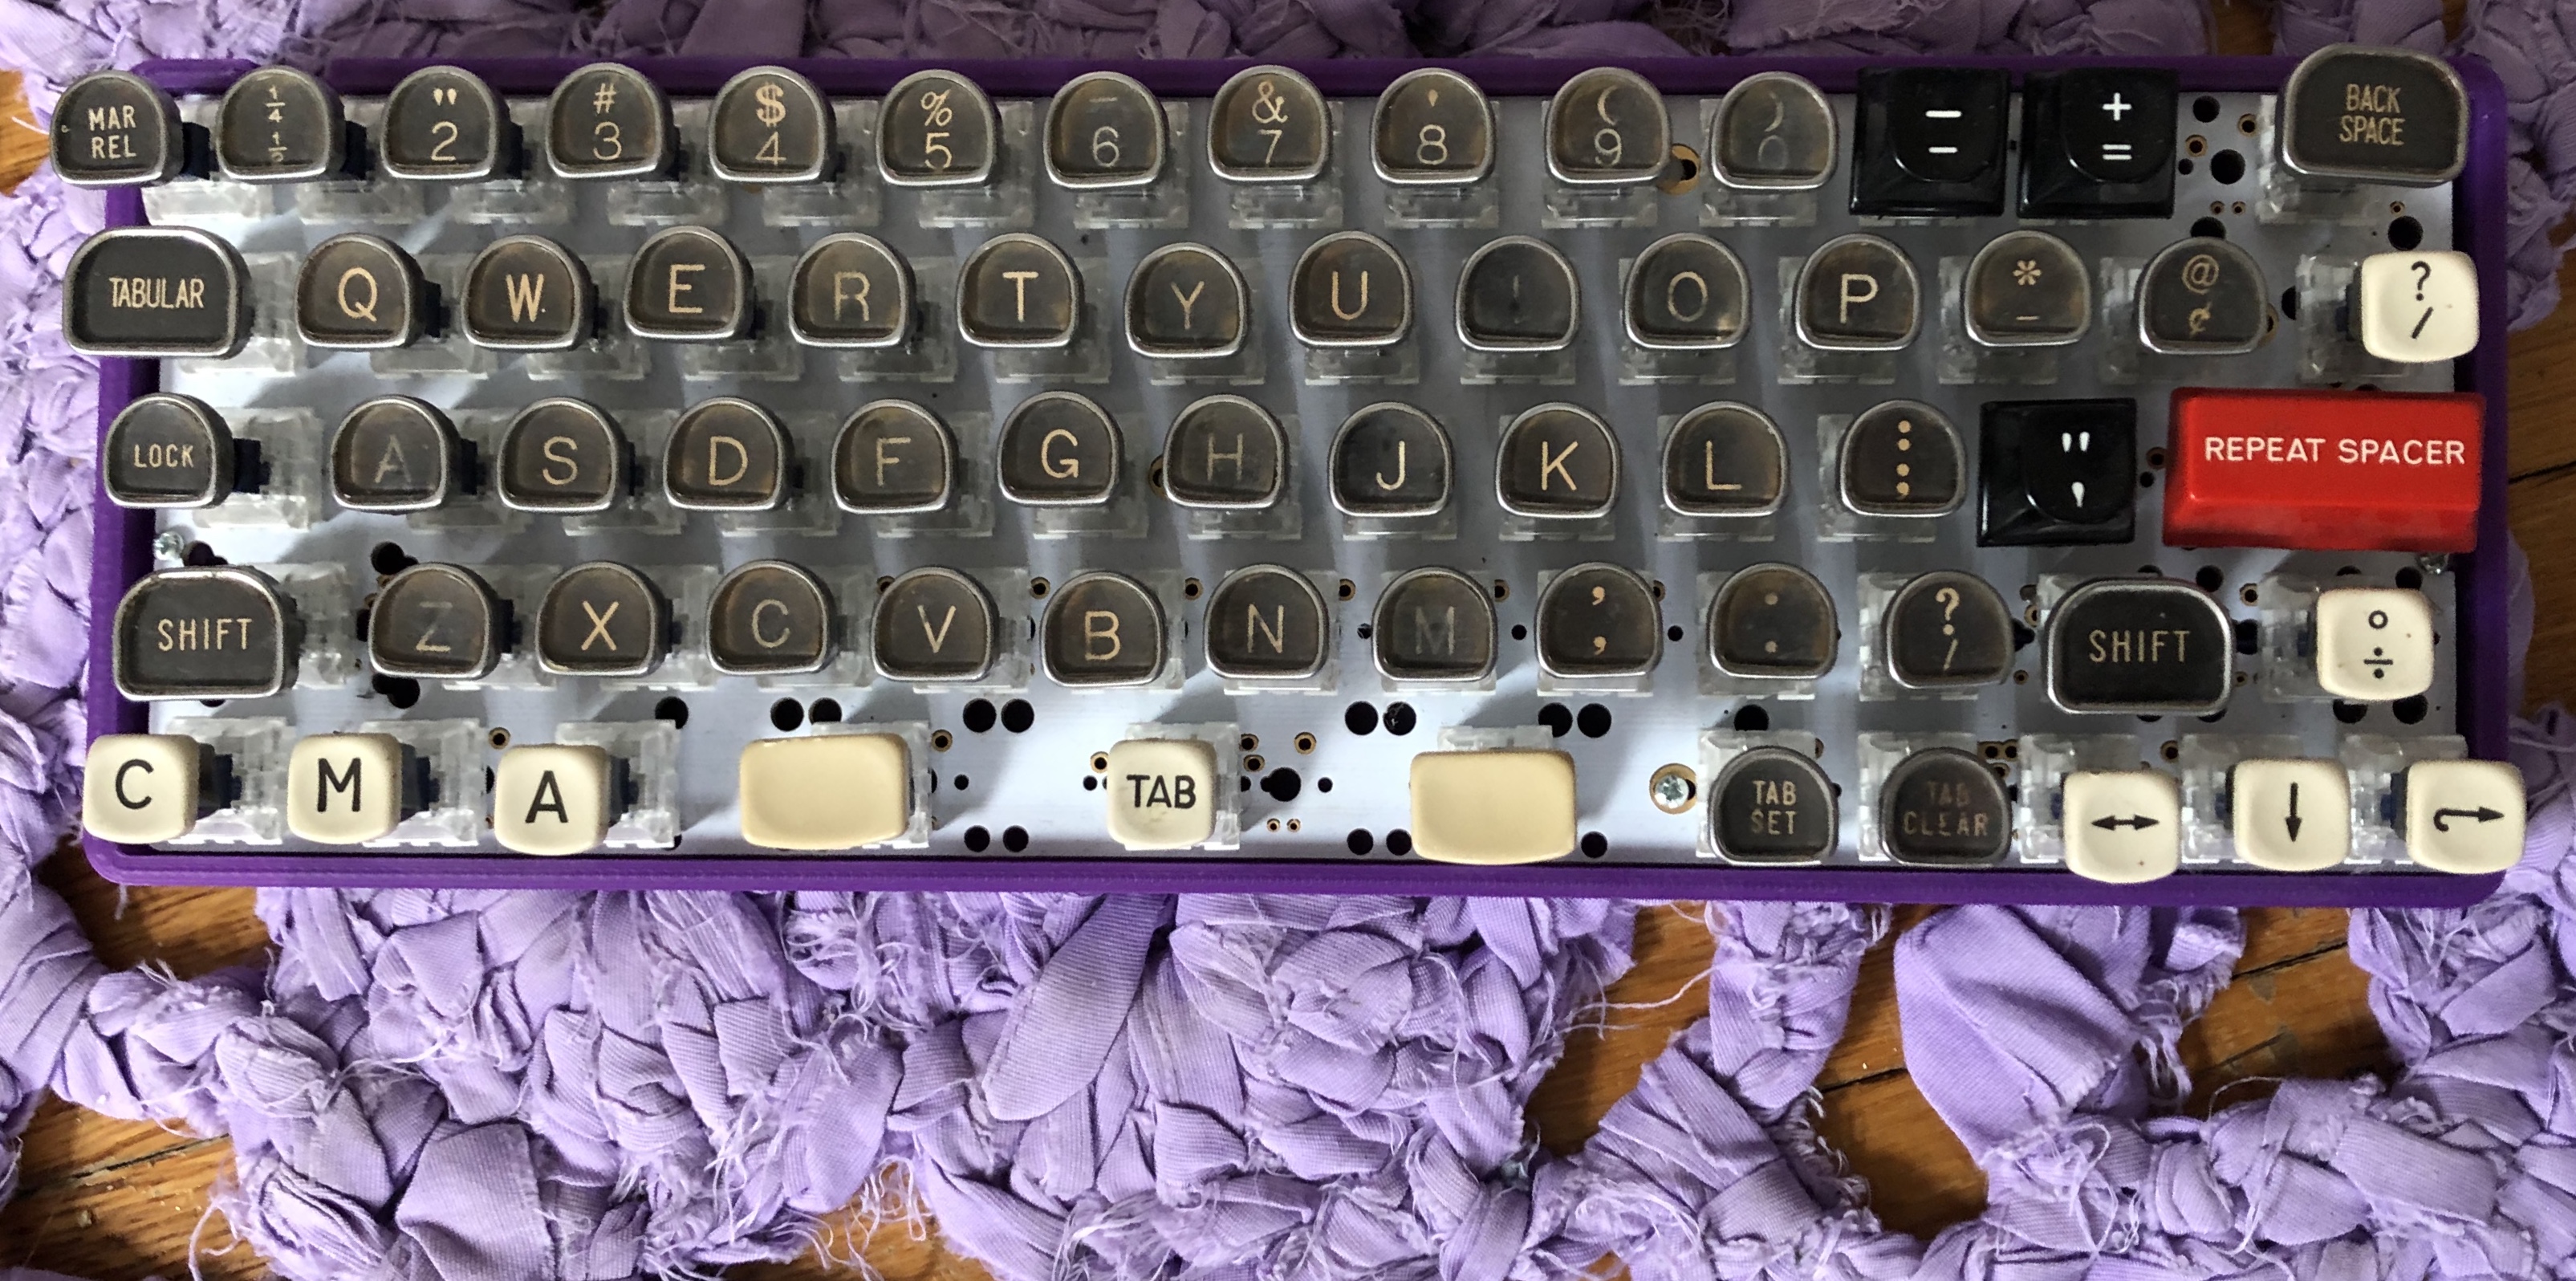
This is a mechanical keyboard build (DZ60 PCB, Kailh Box Navy switches) that uses as its keycaps real keys from old typewriters.

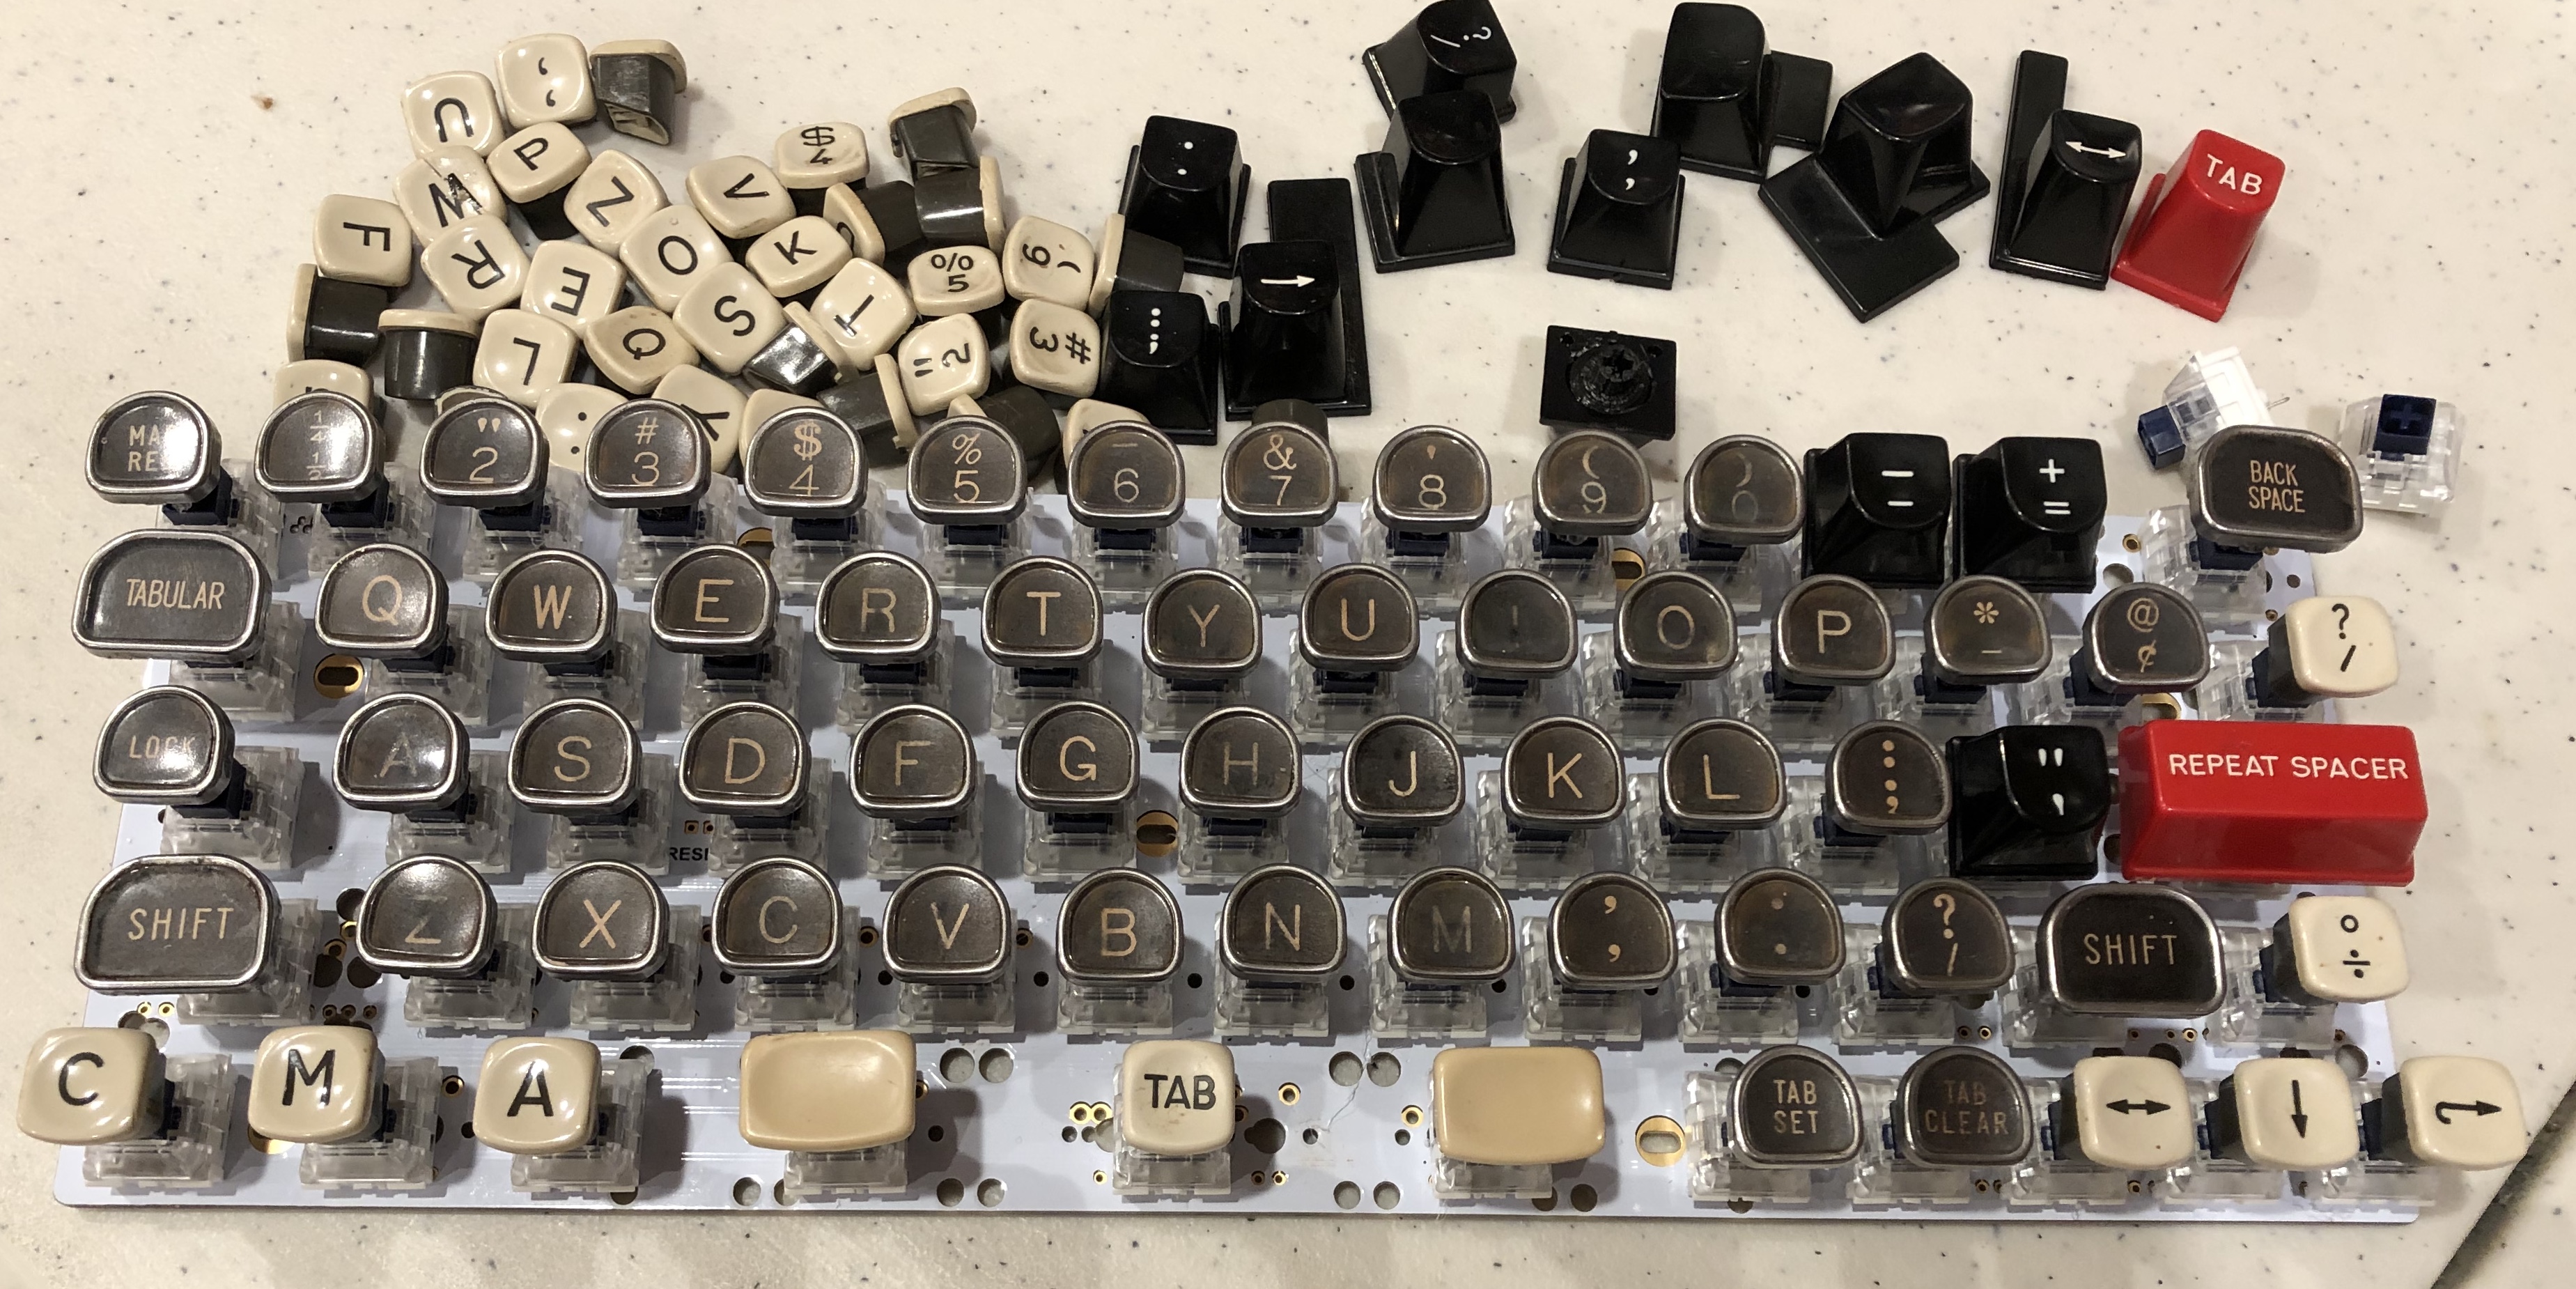
I used three different sets of vintage typewriter keys. The alpha keys and some of the modifiers are glass tombstone-style keys from a vintage Royal mechanical typewriter, but since that’s only 50 keys, I augmented it with plastic keys from two different sets (origin unknown).
Fun fact: Old typewriters – including the Royal that my keys are from – often didn’t come with a
1key; instead, the digit1was typed using a lowercasel.
These keys came with part of the typewriter stem still attached to the back, which I had to trim to a reasonable length. I cut a few off with a dremel tool, but this was more time-consuming than I liked, so I used a sheet metal hand nibbler on the rest and gave myself a wicked hand cramp.
Next I designed (in OnShape) and 3D-printed adapters for these keys that would fit on the Cherry MX switches. These, I hot-glued to the typewriter keys. I ended up designing six or so types of adapters – some of the metal keys had wider stems than the others, a few came without stems, and of course each set of plastic keys needed its own type of adapter. If I re-did this project I might use a material other than hot-melt glue to attach the adapters to the plastic keys; a couple of the keycaps I used on my arrow keys have an alarming tendency to come loose.
I didn’t really think far enough ahead to design and lasercut a custom plate, so I decided to do a plateless build with PCB-mount switches. Problem: Kailh BOX Navy switches aren’t PCB-mount. (PCB-mount switches have, in addition to the two metal switch pins, two plastic pins that fit into holes on the PCB for added rigidity.) Therefore, I hot-glued them to the PCB. A lot of hot glue was involved in this build. I then mounted the finished PCB in a 3D-printed case from Thingiverse (I believe this one, but I’ve long since misplaced the original link).

The final step was flashing the keyboard firmware. Thankfully, the DZ60 is one of the incredibly many keyboards supported by the open-source QMK keyboard firmware. I tweaked one of the standard layouts a bit, since I’m using a somewhat weird split-spacebar layout with arrow keys. I also customized the underglow LED lighting and started adding some interesting layers.
There’s still more to do with this project. I primarily want to work on the firmware; programming my Preonic has given me a much better idea of what I want on my layers. Also, my 3D-printed case is lovely and purple, but it is also unfortunately opaque, and blocks most of the underglow LEDs – it would be nice to replace the back of the case with acrylic, so the light can actually get outside the case, instead of shining up through the unpopulated holes in the PCB. But for now, the keyboard works just fine.