Custom Keyboard Layout
959 words | ~ 5 min read | Jun 10, 2020 | last modified Jun 10, 2020 | keyboards
It’s no secret that I’m massively obsessed with mechanical keyboards. For sheer customizability, they’re impossible to beat. Yes, I can put a lot of effort into software key remappings and then carefully port them over to every new computer I use – or I can just use open-source keyboard firmware QMK and my keyboard will work wherever I plug it in. QMK also lets me program keys to do one thing when tapped and another thing when held down, or configure “layers” so that my letter keys will turn into symbol keys, so it’s more powerful than software configuration.
How can I exercise this power for myself, I hear you ask? First, get a keyboard that supports QMK. I personally use a Preonic, which is not for everyone, but I recommend that you get a keyboard that has a split spacebar or otherwise has some extra thumb keys – these are very convenient to assign as “layer activation” keys. Then, follow the QMK docs on making a new keymap file and flashing your keyboard.
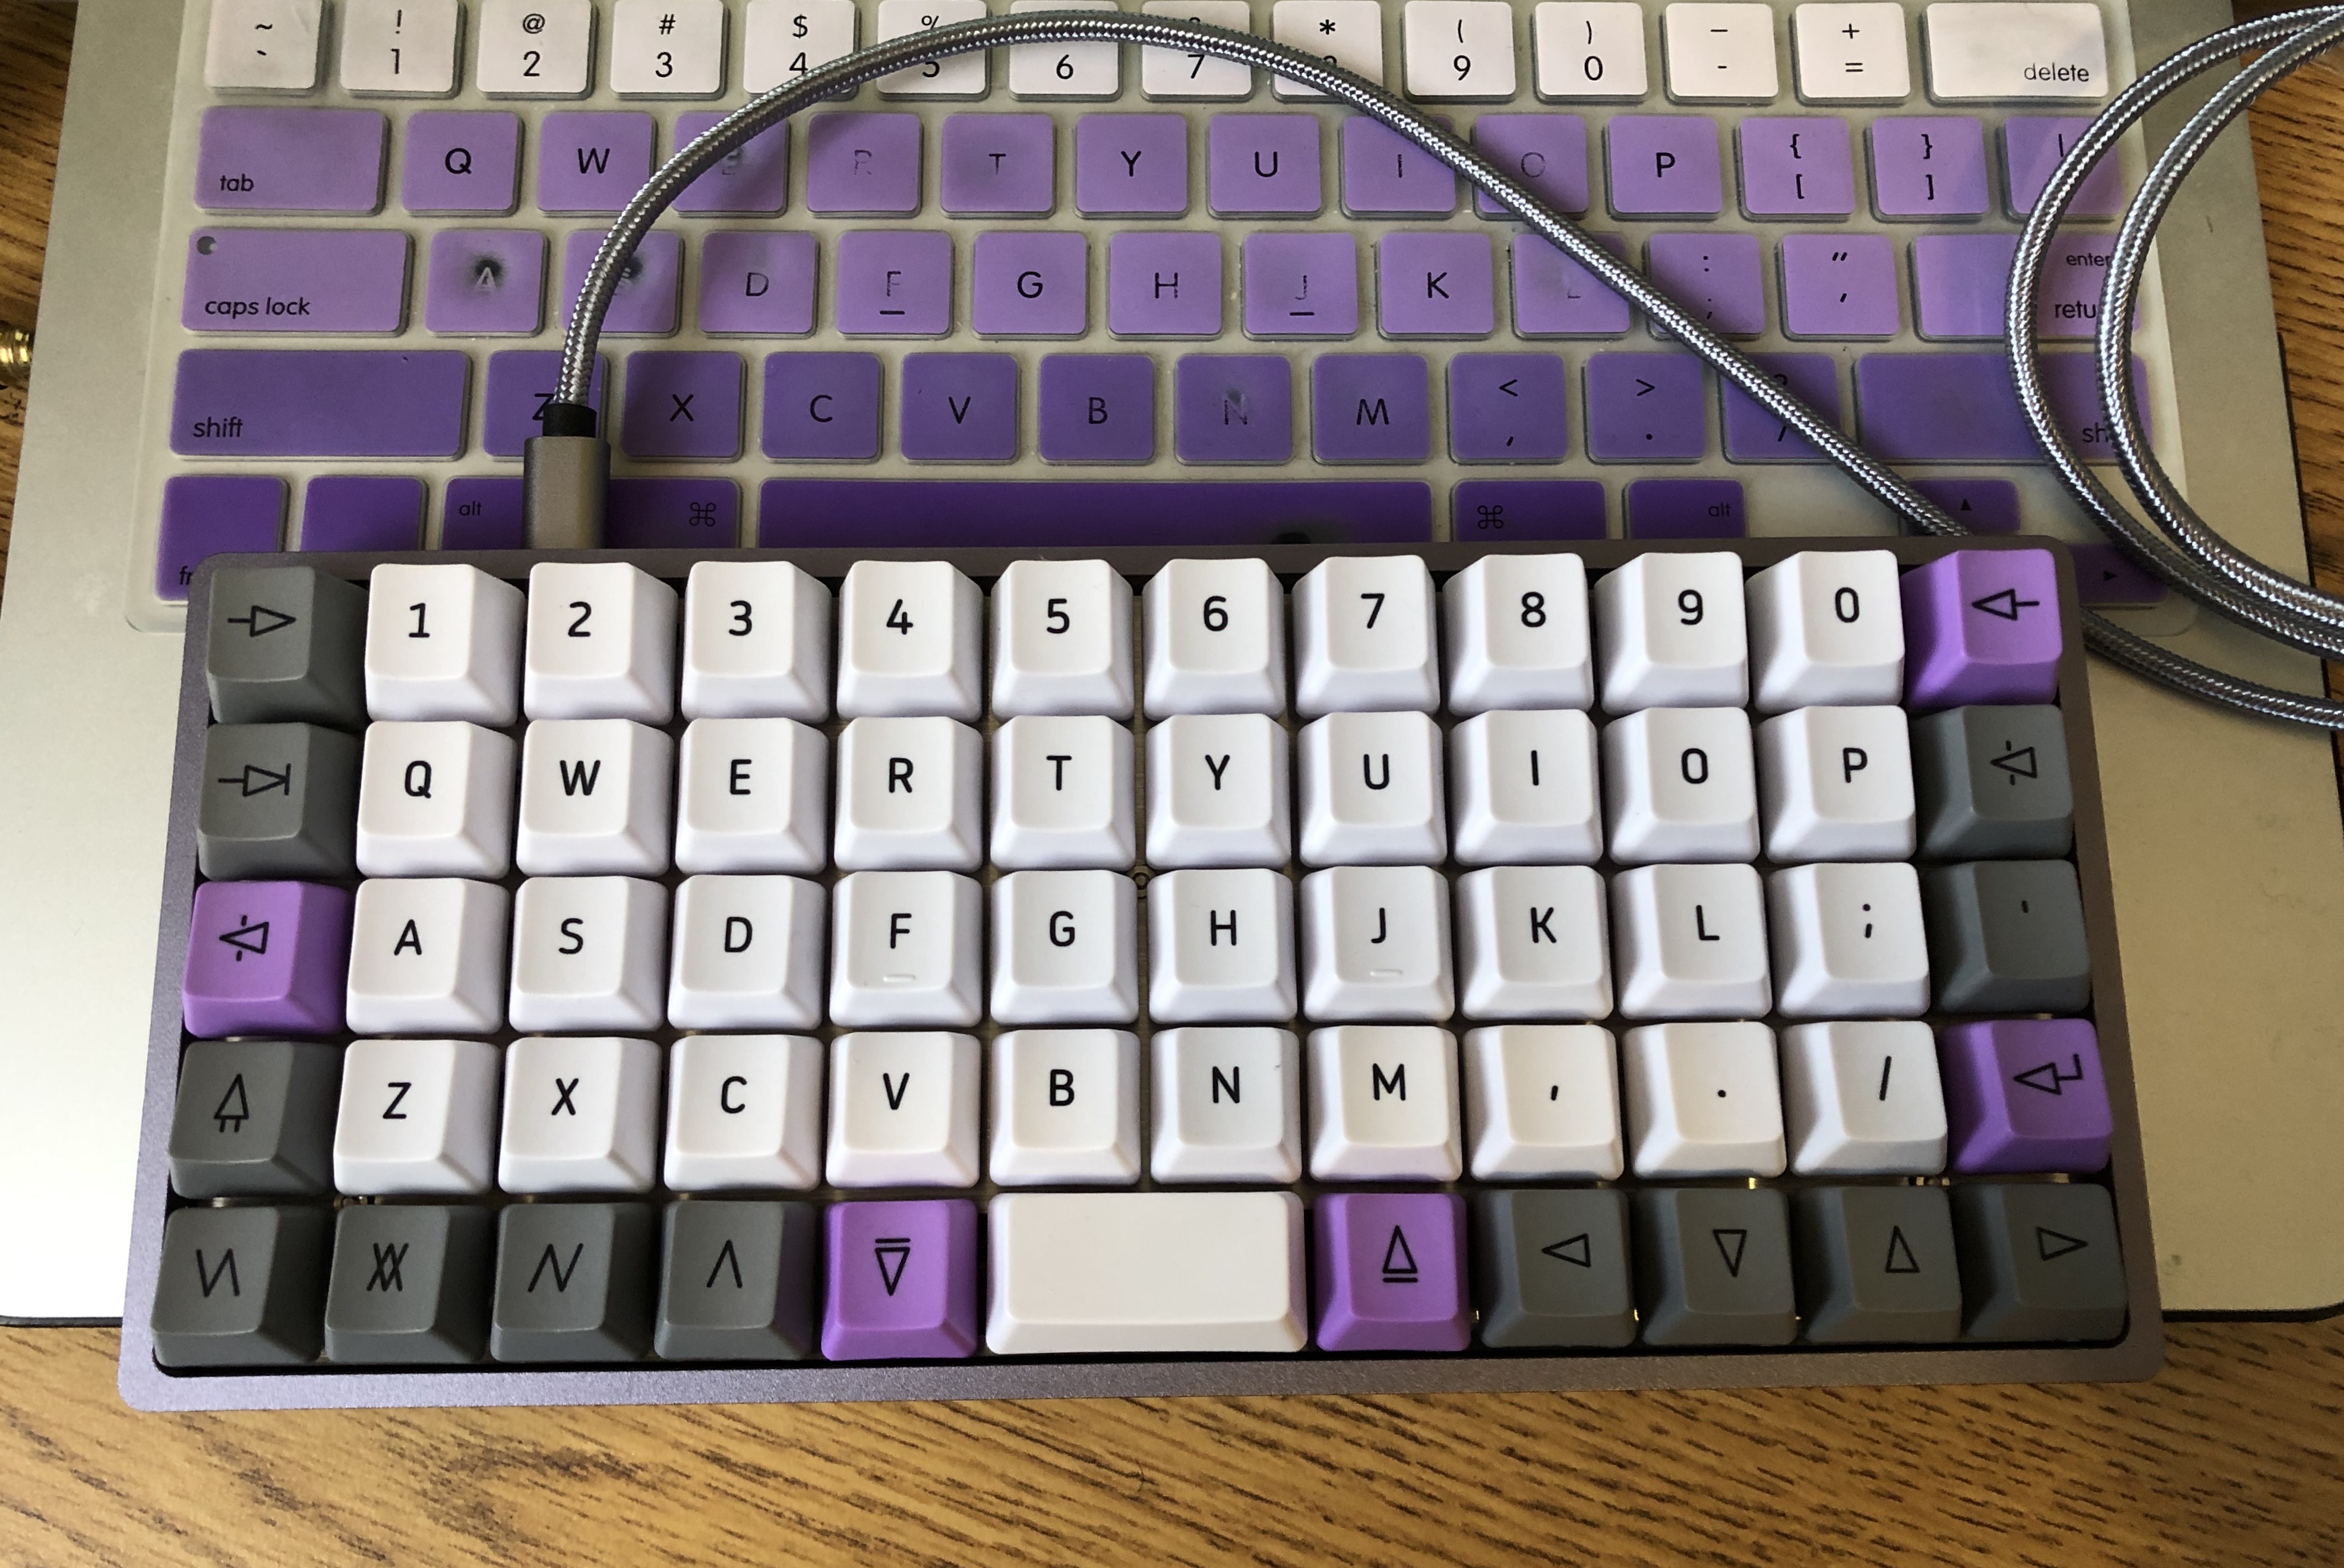
You’ll notice that the Preonic has a “lower” key to the left of the spacebar and a “raise” key to the right. These let you easily access “raise” and “lower” layers by holding down the respective key – instantly and enormously expanding your keyboard. It also has actual, physical arrow keys, something that’s important to me, and yet it takes up less space than a normal 60% keyboard.
The rest of this post will be about my personal layout choices. You may want to follow along by looking at my personal config, which is here. You can find all my personal QMK configs in my fork of QMK here. I also have a custom config for a DZ60, which is the PCB I used for my typewriter keyboard.
First, the default layer, labeled _QWERTY in keymap.c. I haven’t made too many changes here:
- Delete key changed to backslash because I write a lot of LaTeX and don’t use delete.
- Capslock changed to escape, something I highly recommend to all vim users. If you use emacs I would instead suggest remapping it to ctrl.
- The Enter key has been changed to
SFT_T(KC_ENT). If it’s held down, and another key is pressed, it functions as a shift; if tapped, it acts as enter. This is because when I first switched to the Preonic I exclusively used the right shift key, which the Preonic doesn’t have. I now use the left shift more often on my preonic, but on my Macbook’s rubber keyboard cover, there’s still a massive wear spot in the right shift while the left shift is near-pristine.
The _LOWER layer is the one I’ve customized the most – this is now my “symbols and function keys” layer.
- The symbols that usually live on the number keys,
!@#$%^&*(), have been moved to the top row of letters, and the other common programming symbols live on the home row. - All three sets of brackets (parentheses, square-brackets, and curlyboys) are in a vertical stack on the rightmost columns of letter keys.
- Backslash stays the same, but pipe (
|) has been moved to the quote key. - You’ll notice that the little diagram in the comments says Squid on it. I was experimenting with QMK’s Unicode-sending functionality, something the USB HID device standard typically doesn’t allow, by using this key to send the squid kaomoji,
くコ:彡. Unfortunately, it didn’t work.
The _RAISE layer is for special commands, since I moved all the symbol functionality into _LOWER.
- H, J, K, L can be used to drive the mouse around, and the semicolon key sends a click. U and I scroll down and up. This is probably the functionality on this layer I use most often.
- I experimented with using several other keys on this layer to control brightness, music, etc., but honestly I mostly don’t use them.
Finally, there’s the _ADJUST layer, which I never use (except once, when I was randomly button-mashing and accidentally switched into Colemak). The less said about this, the better.
In the default keymap, both raise and lower have all the function keys on them, which is wasteful. In addition, raise has a few symbols on it, in the same place where the lower layer also has symbols, which was really confusing for me to learn – I could never remember whether the symbol I wanted was on raise or lower. And some of the symbols were just hard to reach, especially ~ and | which I type a lot in bash commands. With all the symbols on the raise layer, the functionality is (mostly) neatly divided into “symbols layer” and “not symbols layer”, which is easier to remember.
I’ve chosen to stick to the QWERTY layout rather than switch to Dvorak or Colemak or Workman or something, mostly because I use vim and don’t want to disrupt that muscle memory. (One afternoon I decided to try out Dvorak – my typing speed after a few hours of practice wasn’t terrible, but then I tried to edit something in vim and I went directly to hell. It was like, things are happening! Why have I just jumped to the start of the file and deleted a bunch of lines? That’s not what I wanted!) I find that even with QWERTY, my Preonic represents a significant ergonomic improvement over a standard keyboard, since it’s ortholinear and very compact, reducing the distance my fingers have to stretch – and my custom layout improves things more by putting all the symbols under the top two rows of letters. Your mileage, of course, may vary. A keyboard layout is a very personal thing, and I encourage you to experiment and customize yours until it perfectly fits you and your needs.